Ever wonder just how safe your Linux server really is? If you’re new to Linux or exploring systems like Kali Linux, you might assume the OS takes care of most things. But the truth is, even the most secure Linux distro can leave your data exposed if you don’t take a few basic precautions.
The default settings are made more for convenience than security. Leaving those defaults unchanged can expose your server to the internet in ways you never intended.
Don’t worry, though. With just a few beginner-friendly tweaks, like adjusting SSH access, reviewing file permissions, and using a firewall, you’ll be a few steps ahead of most casual users.
Let’s start with some high-impact basics.
Protecting Your Linux Server: Start with Updates and Access Management
If you do nothing else, keeping your system updated is the single most effective way to improve your Linux server security. Most attacks exploit known bugs that already have patches. Attackers are just hoping you haven’t applied them yet.
Here’s what you need to do:
Keep Your System Updated Automatically
Regular updates are your first and easiest win. Staying current helps close gaps before attackers can take advantage of them. Most Linux systems include tools that handle this for you.
Instead of checking manually every week, you can set up automatic updates to keep things running smoothly in the background. Ubuntu supports a tool called unattended-upgrades that handles critical security patches without needing input from you.
Remove Unused User Accounts
Once your system is up to date, it’s time to clean up access. Every user account is a potential entry point. If you’re not using it, it shouldn’t be there.
Systems often accumulate old logins over time, especially if multiple people have worked on them. Removing accounts you don’t need reduces risk and helps you stay in control of who’s allowed in.
Disable Root Login Over SSH
Root access is a powerful tool, but it’s also a major target. Many attackers focus on breaking into root accounts, because they are the default administrative users with full control over the system.
You can avoid this risk by turning off root login for remote access by editing your SSH configuration file. Instead, log in as a regular user and switch to administrative privileges only when necessary. It’s a safer, more deliberate way to manage your system.
Use Strong Passwords or SSH Keys
Passwords are often the weakest link. Weak or reused passwords can be guessed or cracked with ease. Using long, unique passwords helps, but switching to SSH keys gives you an even stronger layer of protection.
SSH keys are more secure, and once set up, they’re faster and easier to use than typing passwords every time.
When you put these steps together, you create a solid security foundation without needing complex tools or expert knowledge. Each small change improves your system’s safety and puts you in control.
Once the basics are in place, it’s time to add a protective wall.
How Firewalls Protect Your Linux Server Automatically
A firewall is like a bouncer for your Linux server. It decides who gets in and who gets turned away. By default, many systems leave the doors wide open, and that’s exactly what automated bots are looking for.
What Does a Firewall Do?
Firewalls filter incoming and outgoing traffic based on rules you set. You can allow only the services you need (like SSH on port 22 or a web server on port 80) and block everything else. It’s a simple concept, but incredibly powerful in practice.
UFW vs firewalld: Which Should You Use?
Both UFW and firewalld help control traffic to and from your server. They offer the same core protection but differ in how they’re managed. Your choice often depends on your Linux distribution and how simple or flexible you want things to be.
- UFW (Uncomplicated Firewall) is designed to be simple. It’s a good fit for Ubuntu and Debian users. The commands are easy to learn and ideal for basic setups.
- Firewalld offers more flexibility. It’s commonly used on Fedora, CentOS, and Red Hat. It uses zones to group rules, which is useful as your server setup grows more complex.
Quick Start with UFW
If you’re using Ubuntu or Debian, UFW (Uncomplicated Firewall) is the easiest way to get a basic firewall running quickly. Here’s how to set it up:
1. Install UFW (if it’s not already installed):
sudo apt install ufw
Using this command ensures UFW is installed on your system. Many Ubuntu versions come with it pre-installed, but it’s good to double-check.
2. Enable the firewall:
sudo ufw enable
Don’t worry, it doesn’t block everything by default. UFW uses sensible rules to avoid cutting off access to your system.
3. Allow SSH access before locking anything down:
sudo ufw allow ssh
This is important! If you’re connected to your server remotely, you must allow SSH traffic before enabling the firewall. Otherwise, you could accidentally lock yourself out.
4. Open specific ports as needed:
sudo ufw allow 80
Here is an example that opens port 80, which is standard for HTTP (web servers). If you’re running a website, you’ll need this. You can also use 443 for HTTPS or any other port specific to your application.
5. Check the status and current rules:
sudo ufw status
It lets you review what’s currently allowed or blocked. It’s a good habit to run this after making changes to confirm they’re working as expected.
GUI or Command Line?
If you prefer not to use the terminal, some Linux distributions offer graphical tools like Gufw, a GUI for UFW. These tools make it easy to see and manage rules with clicks instead of commands.
No matter if you prefer a graphical tool or the command line, setting up a firewall helps block most random scans and attacks before they reach your system.
SSH Security: Important Settings You Should Know
Once you’ve locked down general access to your server, it’s worth fine-tuning how SSH behaves under the hood. These settings can also improve control, visibility, and efficiency for your day-to-day work.
Thankfully, making it more secure takes just a few small but important changes.
Limit SSH Access by IP
If you only connect to your server from specific locations, you can limit SSH to just those IP addresses. This drastically reduces the chance of remote intrusion, even if other security measures fail.
For example, if you only connect from your home network, you can set the firewall or SSH configuration to ignore all other traffic. That means even if someone has your key, they can’t connect unless they’re on your approved network.
Use SSH Config for Smarter Connections
A small but powerful improvement is using an SSH config file on your local machine. It lets you save connection shortcuts, define identities for different servers, and speed up your workflow.
This means, instead of typing ssh user@192.168.1.10 -p 2222, you could simply run ssh myserver after setting up a simple config. It also helps when working across multiple machines with different credentials.
Enable Connection Limits and Login Banners
You can reduce risk by limiting the number of SSH sessions per user or setting a short login grace period. Adding a login banner also warns users about unauthorised access, which can deter casual attackers.
These enhancements not only harden your Linux server but also make managing SSH safer and more efficient.
Now that we’ve locked down access, let’s stay informed.
Managing File Access and Monitoring Logs on a Linux Server
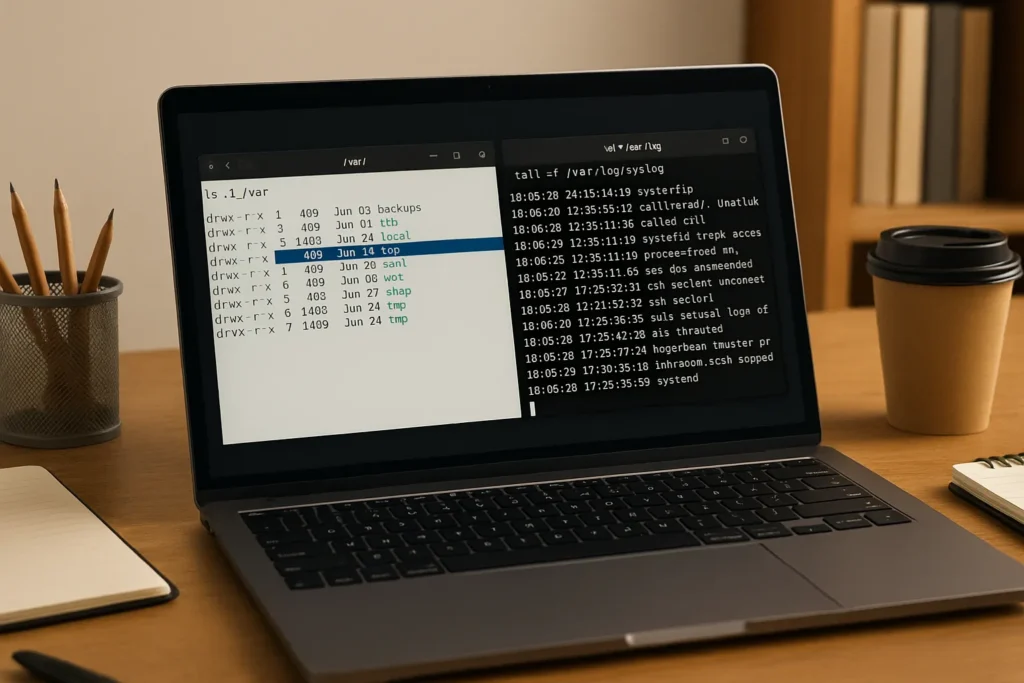
The next step is knowing what’s happening on your server and ensuring only the right people can touch the right files. That means setting proper file permissions, using user groups wisely, and keeping an eye on logs for unusual activity.
Here’s how to key practices to keep your server secure beyond the initial setup:
Understand File Permissions
Linux uses a permission system to decide who can read, write, or execute files. It’s a foundational part of how the OS keeps users in their lanes. For example, you might want your web server to read files but not edit them.
Using the correct permission settings (like 644 for public web files) ensures only the owner can make changes while everyone else can simply view them. Avoid giving full permissions (777) unless you need to.
Use Basic Monitoring Tools
Once you’ve locked down who can access what, the next step is to keep watch over what’s happening. Two tools stand out for beginners:
- fail2ban: Monitors login attempts and bans IP addresses after too many failures. It’s great for stopping brute-force SSH attacks.
- auditd: Tracks system activity and logs key actions. It can alert you if someone changes an important configuration file or accesses restricted data.
These tools are light on system resources and run quietly in the background, giving you peace of mind without constant hands-on work.
Schedule Regular Security Reviews
With permissions and monitoring in place, the final step is doing regular reviews. Make security reviews a part of your routine. Set a monthly reminder to run through a quick checklist:
- Are your packages up to date?
- Have any new users been added?
- Do your logs show unusual login attempts?
You can keep a simple checklist in a text file or spreadsheet. Checking in on your system regularly lets you spot issues early, before they escalate.
You’ve done a lot. Now let’s make it easier to maintain.
Post-Setup Linux Server Security Tips and Planning
After your server is secure, the challenge becomes keeping it that way. With so many little details (settings, tools, access controls), it’s easy to feel like something might slip through the cracks. Planning helps keep everything in check. Here’s where to start:
Write It Down
Start by documenting the key settings you’ve changed. This could include things like which ports are open, which users exist, whether root login is disabled, and which firewall rules are active.
You don’t need anything fancy. A plain text file or a cloud-based note works fine. The point is to make your work easy to reference later.
Create a Recovery Plan
Things go wrong. Maybe you lock yourself out, misconfigure a firewall, or break an essential service. Creating a simple recovery plan means you’re ready to fix mistakes quickly.
Keep a backup of your SSH keys in a secure place, write down emergency commands for reversing changes, and test your access from a second device before logging out. A little preparation can save hours of frustration.
Set Up Scheduled Tasks
If you’re ready to go a little deeper, learn how to use cron to schedule commands. Cron lets you automate almost anything at set times, like weekly reports or health checks. You can also explore tools like Ansible, which lets you manage multiple servers with repeatable scripts. It’s more advanced, but a powerful next step when you’re ready.
Start Securing Your Linux Server with One Simple Fix
The hardest part of Linux server security is starting. But now that you know the basics, you’ve got everything you need to begin. You don’t have to overhaul your entire setup overnight. Just pick one fix. Maybe it’s disabling root login, setting up automatic updates, or trying out a firewall, and do that today.
Each change you make adds real protection. It doesn’t take a pro to apply patches, clean up user accounts, or lock down SSH. Use this guide as your personal checklist. Revisit it when you need a refresher, or when you’re ready to take the next step.
Make security a habit. And by making even one change today, you’ve started building it.