Have you ever tried running a script or opening a file, only to get hit with a “Permission Denied” error?
It’s frustrating. And if you’re new to Linux, it can feel like you’re locked out of your own system. The good news? Linux file permission settings exist to protect your system, limit risky access, and give you full control over who can view or change your files.
In this guide, you’ll learn exactly how Linux file permissions work, why they matter for security, and how to use basic tools like the chmod and chown commands to take back control. We’ll walk you through file and directory permissions and how execute permissions work.
Ready to feel more in control of your Linux system? Let’s get started.
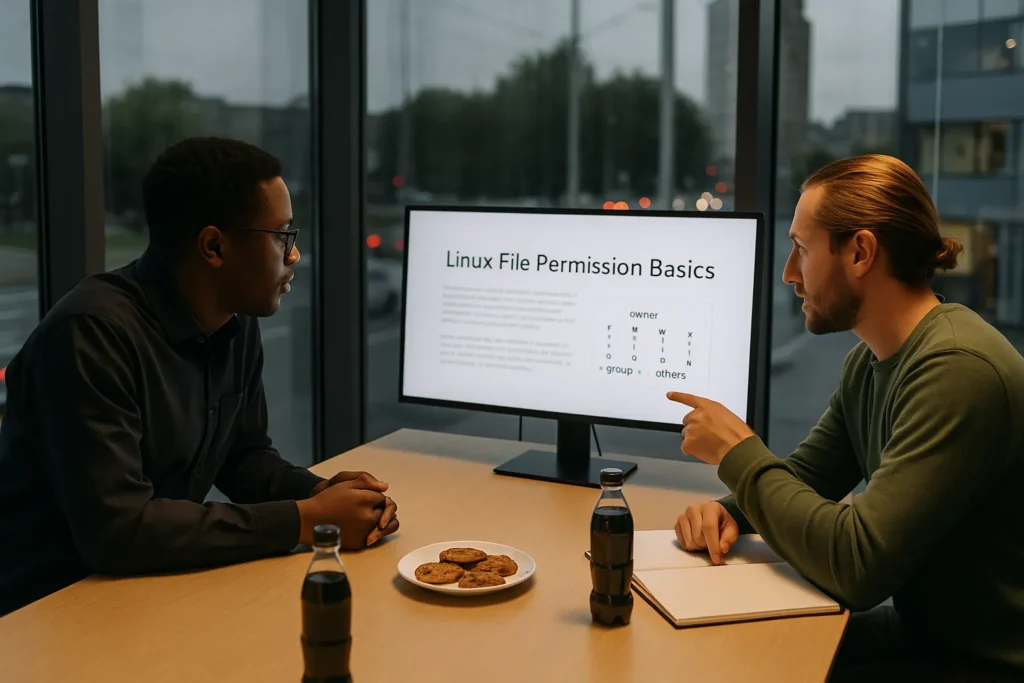
Linux File Permission Basics
Linux files and folders use a permission model made up of three basic rights: read (r), write (w), and execute (x). These rights are assigned to three categories of users. They are the file owner, the user group, and other users.
Each group gets its own combination of permission settings. For instance, the owner of the file might have full rights to read, write, and execute. The group might only be allowed to read it, while others might have no access at all. These defaults can be changed at any time using simple commands.
Permissions are often shown in symbolic notation like “rwxr-xr–”, or in octal notation using numbers like “755”. In that example, the file owner can read, write, and execute (7), the group can read and execute (5), and others can read (4). This notation lets you quickly understand who can do what.
Here’s a simple rule of thumb for octal notation:
- 4 = read
- 2 = write
- 1 = execute
Just add them together for each group.

As per the official Red Hat Enterprise Linux 9 documentation, clear permission settings are a basic step in protecting your system and controlling access properly. This permission model makes managing files and directories easier for everyone. It helps you balance access with security, even in shared environments.
Next, we’ll break down how permissions work differently for files and directories and why that distinction matters.
File vs Folder Permissions
Understanding how Linux handles permissions for files versus directories helps prevent confusion and access errors. While the permission bits, read, write, and execute look the same, they behave differently depending on whether you’re working with a file or a folder.
Here’s how it breaks down:
File permissions
- Read (r) lets you open and view the file’s contents.
- Write (w) allows you to edit or delete the file.
- Execute (x) lets you run the file, if it’s a program or script.
Directory permissions:
- Read (r) allows you to list the files in the directory.
- Write (w) lets you add, remove, or rename files.
- Execute (x) means you can enter the directory with cd and access the files inside. Without this, even listing contents might fail.
For instance, if you only have read permission on a folder but not execute, you can’t enter it from the command line. This often leads to frustrating error messages, especially for newer users.
They may not look that important, but these differences matter when working in shared environments or automating tasks. A script might fail silently because it can’t enter a folder, or you may be able to see a file name but not open it.
Change Permissions with chmod
The chmod command (short for change mode) is used to set or update file and directory permissions in Linux. It tells the system who is allowed to read, write, or execute a file. You can use chmod in two ways. They’re symbolic mode or numeric (octal) mode.
Symbolic Mode
Symbolic notation uses letters and symbols to represent permission changes. It’s a readable, flexible way to change individual permissions.
You tell Linux who you’re changing permissions for:
- u = user (file owner)
- g = group
- o = others
- a = all users
Then, you apply what you want to change:
- r = read
- w = write
- x = execute
And you use symbols to define the action:
- + adds a permission
- – removes a permission
- = sets the permission exactly
Example 1: To give the file owner permission to execute a file, type “chmod u x filename”
Example 2: If you want to take away write access from others, use “chmod o-w filename”
Numeric Mode or Octal Notation
Octal notation is a shortcut using numbers instead of letters. It’s fast and great for scripts or bulk changes. Each permission has a value.
- 4 = read
- 2 = write
- 1 = execute
Add these values together to define permissions for each group (owner, group, others).
For example:
- “chmod 755 filename” gives the owner full rights (7 = 4+2+1), and group and other users get read + execute (5 = 4+1).
- “chmod 644 filename” gives the owner read/write access and everyone else read-only.
If you’re setting up files on a server, knowing both symbolic and numeric methods can save time and prevent mistakes.
They also make it easier to train team members, since each method suits different tasks. Symbolic mode is great for quick, human-readable edits, while octal notation works best in scripts and automation.
Mastering how to set permissions is one part of the picture. To fully manage access, you also need to control who owns the file, and that’s where the chown command works best.
Changing Ownership with chown
Every file and directory in a Linux system has an owner and a group tied to it. When files are created by different users or moved between locations, ownership doesn’t always align with who needs control. The chown command (short for change ownership) solves this.
Here’s how to use it to take charge of ownership settings:
- To change the owner of a file, type “chown newuser filename”
- To change both the owner and group, use “chown newuser: newgroup filename”
- To change only the group and leave out the user, type “chown :newgroup filename”
- To apply ownership changes to a directory and all its contents, use the -R flag for recursion, and then “chown -R newuser:newgroup foldername”
This gives the specified user and group ownership of every file and subfolder inside that directory. It’s especially useful for shared folders or project spaces where multiple users need consistent access.

Pro Tip: After transferring files between users, always verify who owns what using “ls -l”. It helps avoid mismatched permissions and prevents access issues for other users down the line.
Reassigning ownership goes hand in hand with permission control. Once you’ve set the right owner and group, the next step is making sure your overall strategy for managing file permissions keeps everything secure and accessible.
Managing File Permissions Effectively
Setting permissions manually is useful when you’re dealing with a few files. But as your system grows, or if you’re managing a shared environment, those one-off changes won’t cut it. This is where you need proper techniques for managing file permissions.
Without a consistent strategy, even minor misconfigurations can expose sensitive data or block the wrong users. That’s why experienced admins rely on policies like umask and group-based permission controls to maintain long-term security across files and directories.
Set a secure umask
A umask sets the default permissions for new files and directories. For example, a umask of 022 makes new files readable by others but not writable. A stricter setting, like 077, ensures only the file owner has full access. You can add a custom umask to your shell’s startup file so it’s consistently applied.
Pro Tip: Use umask -S to see your current settings in a readable format.
Use groups for shared access
Instead of opening access to everyone, create a user group and assign it to a folder. Then use “chmod g rwx foldername” and “chgrp groupname foldername” to make that group the owner.
For consistent access, add the SGID (Set Group ID) bit using “chmod g s foldername”. This ensures new files inside inherit the folder’s group.
Protect shared directories with the sticky bit
In folders like /tmp, where many users drop files, the sticky bit prevents one user from deleting another’s files. Set it with “chmod t foldername”. It’s simple but effective, especially in shared project environments.
Fine-tune permissions with ACLs
Standard Linux permissions can be limited in complex setups. Access Control Lists (ACLs) let you give specific permissions to individual users without changing the group.
Let’s say a file is owned by a user named Sam and belongs to the “dev” group. But you want a different user, Alex, to also have access, though he isn’t in the group. You can use this command, “setfacl -m u:alex:rw report.txt”
ACLs are especially useful in shared environments where standard permission models don’t offer enough flexibility. They help you avoid using overly broad settings like 777, which can create unnecessary security risks.
Based on our firsthand experience, combining sticky bits, ACLs, and group strategies helps reduce permission errors in team settings. These tools work together to create a safe, flexible access system without overcomplicating your Linux environment.
When permissions are managed properly, error messages are rare, and users get the access they need. Nothing more or nothing less.
You’ve now seen how to set permissions, change owners, and manage access like a pro. Let’s wrap things up with a few ways you can take your Linux skills even further.
Take Full Control of Your Linux System
You’ve now covered everything from the basics of read, write, and execute to using tools like chmod, chown, sticky bits, and ACLs. These commands are how you secure your system, avoid frustrating permission errors, and give the right people the right access.

Start by applying what you’ve learned. Check permission settings using “ls -l”, experiment with umask defaults, and try creating test files and directories where you can safely modify ownership and group access.
Want help with more advanced tools or user management? At Basic Linux, we publish step-by-step guides for everyday users, developers, and sysadmins alike. Bookmark us for practical tips, or dive into our next walkthrough to expand your Linux skill set.
Small changes in how you handle permissions can change everything and keep your Linux system secure, efficient, and frustration-free.
